Arming the heavy bag, part one: trial by wire.
by Ryan Gregory, March 13th, 2012I recently installed a 100lb heavy bag in my garage, part of my growing “home dojo” that I use for practicing outside of class time. However, just punching and kicking the heavy bag gets a little boring. Moreover, a heavy bag doesn’t really help one practice more complex sequences of techniques such as those included in the ippon kumite exercises. So, I decided that what my heavy bag needed was a pair of arms.
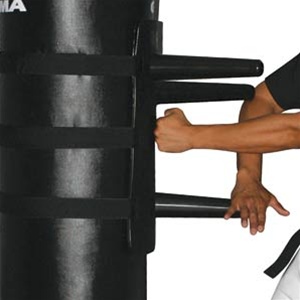
Surprisingly, there are few options out there, either in terms of bags that come with training arms or attachments that can be added to a standard heavy bag. There are various commercially available grappling dummies, and of course there are traditional training tools like the mook jong used in Kung Fu as well as mook jong-type “arms” that one can strap onto a bag, but this is not what I wanted.
The only decent item available for purchase that I have seen is the one shown below. I have ordered a pair of these and will write a review of them when they arrive.
However, I also like to explore DIY options for stuff like this, so in the meantime I have been tinkering with various options for making arm attachments for the heavy bag.
The first approach that I tried was based on examples I have found of jiu jutsu practitioners constructing their own grappling dummies. In most cases, the joints (or even the entire skeleton) are made using strong electrical wire, which is flexible enough to bend while practicing holds but rigid enough to maintain whatever position it is put in when bent. Because I want to practice ippon kumite as well as double blocks, traps, and other techniques, I decided that this would be a good way to start since it would allow me to incorporate bendable joints into the arms that could be posed to simulate various attacks. I’ll talk about some other options in future posts.
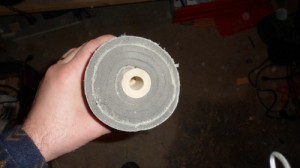
I also wanted poseable hands, although most of the time these will probably just be made into fists. The arms themselves need to be strong enough to withstand repeated hard blocks, but also padded so as not to be painful to use. Options here include wood or plastic (ABS or PVC) pipe inside foam. I experimented with using a wooden dowel inside a pool noodle, and I think that would work fine. However, for the Mark I version of the arms described below, I ended up using a wooden dowel wrapped in camping pad foam and covered in duct tape. This provided a pretty realistic feel when blocking and striking the arms.
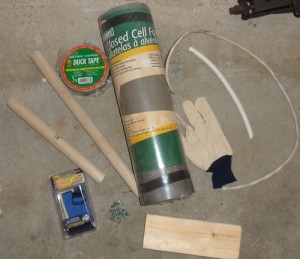
I picked up some thick wire at a hardware store (but check out your local ReStore — they may have some that is quite inexpensive). I decided to get a single industrial wire that contained many copper strands, but you could certainly just put together a few pieces of regular household wire. I have also seen an example where someone used multiple coat hangers this way.

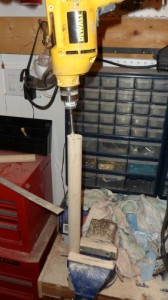
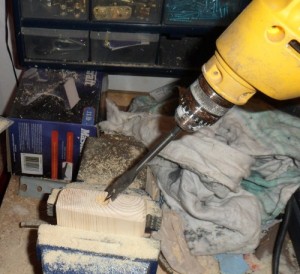
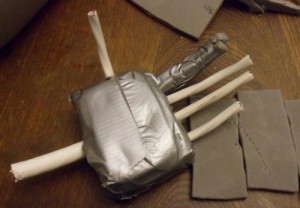
It took a little tinkering to sort out how to attach the wire joints to the forearm and upper arm “bones” that consisted of the wooden dowels cut to approximately the length of my arm bones (about 13″ each). In the end, I drilled a hole (9/16″) down the centre of the dowel, inserted the wire, screwed it in place from the sides, and then reinforced this with zip ties. This worked well, though the danger is that the dowel can split (so pre-drill the holes!). As we’ll see, this worked fine for the elbow and wrist joints, but I will probably do something different for the shoulders.
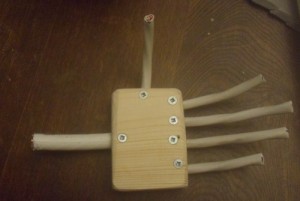
Probably the most fun part of the project was making the hands. For this, I started with a piece of 2″x4″ cut to about the same dimensions as the main part of my hand, and then sanded down to make it somewhat thinner.
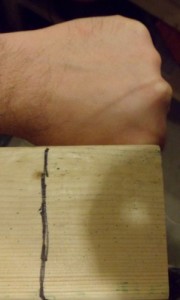
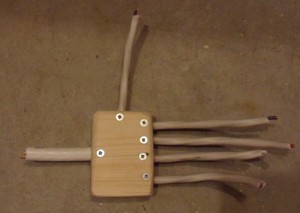
I then drilled six holes in the piece of wood: five were the size of standard three-way switch wire (four on one end, one on the side), and one was the same size as the holes drilled for the elbow joints.
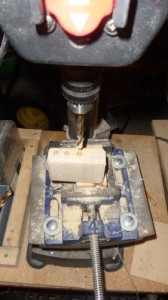
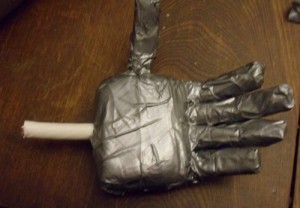
Once I had the holes drilled, I inserted segments of wire into the holes to make the fingers and wrist joint, and pre-drilled and screwed them into place.
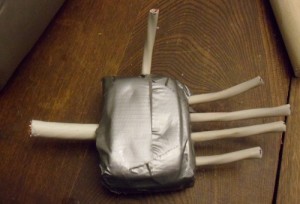
Then, it was simply a matter of covering the hand skeleton with foam and duct tape to flesh it out.
A glove completed the hand.
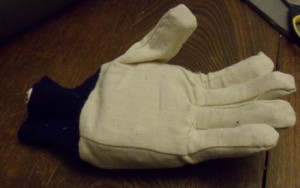
Does it work? Here are the results of the poseability test:

Attach the hands to the arms, et voila!
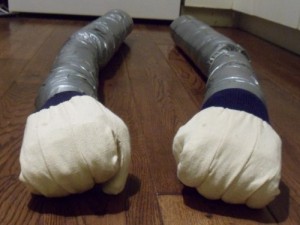
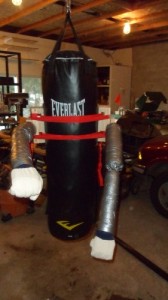
I won’t describe in detail how I made the mounting brackets, because I am not satisfied with the shoulder joints (the wire I used can’t hold the arms up well enough) and will be re-working these and will describe a revised design for the Mark II arms. But, just so you can get a sense of how they look, here are the arms attached to the heavy bag.
I tried out the arms for a while, and I have to say they are really fun to use. They also make the training seem a lot more realistic, in that you can practice all kinds of blocks and counters, footwork, and so on. A few improvements, and I think we’ll have a very useful piece of equipment on our hands. Once I settle on a final design, I will be sure to post some more detailed how-to instructions.








 Brazilian Jiu-Jitsu
 Kodokan Judo


[…] that I used when making the breaking board holder, and the grey camping foam that I used in the heavy bag arm project. I simply taped these to the board and wrapped them with hockey tape. This made for a nice pad […]
[…] (Back in the Gi) * Conceptual sketches from Back In The Gi: Grappling dummies, arms, and mats * Arming the heavy bag, part one: trial by wire (Back in the Gi) * “Lamont” grappling dummy (Matt Wilson) * “Tapey” […]